Planning weddings without a planner or coordinator can become disastrous. Some brides don’t have the financial freedom or just want to take care of everything themselves. If you follow our wedding-planning checklist part two, you will have a seamless wedding.
Three months on your “wedding-planning checklist part two”:
 At this point of the wedding-planning checklist part two, finalize the menu with the caterer. Order your invitations and send them out as soon as possible. Include the food options in the invitation, so guests can select their preference.
Hire a calligrapher for addressing the invitations. If this is not in budget and you do not have great penmanship, order a custom stamp. For guest’s addresses, type them out and print them off on clear stickers.
Start to browse for theme appropriate wedding favors. Websites such as orientaltrading.com have impressive, budget-friendly options for personalized favors. Favors can be as simple as to-go boxes for leftover food or treats. Remember to avoid waste at any event.
Decide on any last minute vendors. If you feel you need a photo booth for entertainment, now is the time to book it. Ask questions about what the photo booth includes such as props, staff, or flip books. Schedule the photo booth for the last few hours of the reception, when guests are usually retire from dancing.
Do you want to write vows, or would you rather say vows written by the officiant? Write or select your vows, and select the readings for the ceremony or reception. Choose the family members or friends you’d like to read them and give that list to the officiant.
Readings should poems, religious scriptures, or non-religious powerful messages. Put the readings on the wedding programs, so everyone can read along. Speakers may be nervous or quiet. Your goal is for everyone to avoid feeling lost or confused during a sweet moment.
You may have seen cute DIY projects. You should start these now. Don’t bite off more than you can chew as little projects can take up a large chunk of time.
Two months before the special day:
Send out rehearsal dinner invitations. If it is a small group or casual, perhaps a Facebook or email invite will do the trick. Schedule your first dress fitting, and cross that off the wedding-planning checklist part two.
Have your first dress fitting two or three months before the big day. Follow up with a final fitting six weeks before the big day. Next, it’s time to pick up your marriage license. Be sure to check on the timeline as some counties require you to be married within 30 days of receiving the marriage license.
Buy wedding-party gifts if this is something you’d like to do. Many gifts are under $30 but say thank you just the same. You can even write a sweet “thank you” note and include a $10 Starbucks gift card, if this is what you can afford. After all, the rehearsal dinner and bridesmaids gifts are also “thank you” gestures.
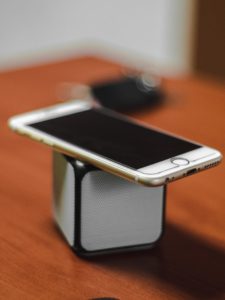
 Send song selections to the DJ if he or she allows this. Create a rehearsal dinner playlist for yourself to have if the venue doesn’t have music provided. Use a speaker, and set the energy level for the dinner.
Do a mockup with the florist if you did not receive pictures. If you see something that needs to be changed, mention it.
One month out:
Give yourself time to do the not-so-small tasks. Gather wedding favor contents and assemble. Go over your budgeting list.
Confirm that you have paid off everything. Make a list of vendors that aren’t fully paid for yet. Try to avoid any off vibes on the day of your wedding.
Speak with your coordinator or planner to hand out tips the day of the wedding, so the bride and groom are not responsible for dealing with mundane money issues.
Remember any family feuds or fallouts. Time to create a seating chart. Do not stress about who is next to each other unless there has been bad blood. If you make a mistake, most people will just switch seats on their own.
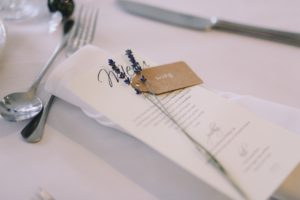
Once the seating chart is done, if you plan on using one, order escort or place cards. An escort card is a little card with a guest name and table number on it. The guest can choose where they would like to sit at the assigned table.
A place card is a little card with a guest name on it placed next to their glasses or plate at their assigned seat. Whether you choose a place or escort card, it should complement the theme of the wedding. If you have the time, go to the venue for a final walk through.
It gets overlooked, but you should break in your wedding shoes to avoid major discomfort and blisters. Often times there are other days planned following the wedding, and you do not want to be in pain. Your honeymoon may be right after your wedding as well, so be sure to avoid blistering.
Next week, we will talk about what preparation you should plan to do the week of your wedding. Thank you for stopping by. We hope you enjoy the first day of Fall!
Staff Writer


